คำอธิบาย
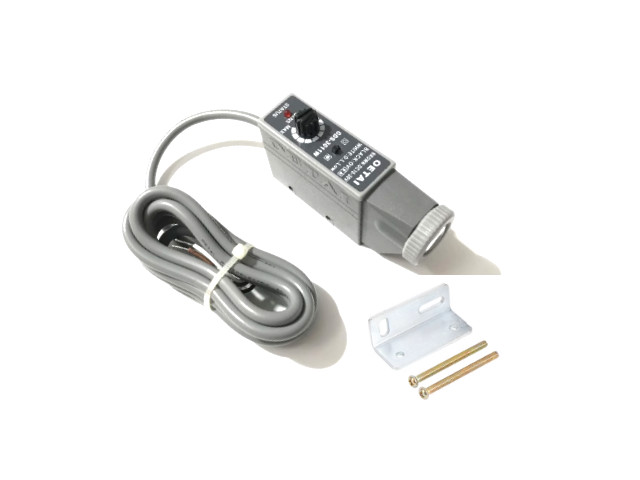
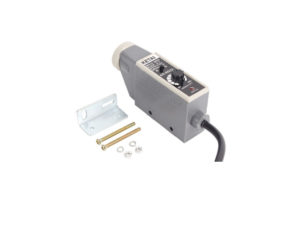
Color mark Sensor เซนเซอร์สี แสงสีขาว Color mark Sensor ใช้สำหรับการตรวจจับวัตถุ ผลิตภัณฑ์ในงานอุตสาหกรรม สามารถใช้กับบรรจุภัณฑ์ เช่น ถุงกระดาษ, ฟิล์มใส, ฟิล์มอลูมิเนียม
- White Color mark sensor bag making machine packaging machine photoelectric eye
ข้อมูลเทคนิค
- Light source Color Mark White LED แสงสีขาว
- แรงดันใช้งาน DC10 – 30V ± 10%
- Output NPN
- ระยะการตรวจจับ Detection Distance 10mm ±3 mm
- Spot Emission Diameter Φ Round 1 mm
- Detection Method Coaxial Reflection
- Response time 0.1 – 1ms
- Load current < 100mA
- Load current < 100mA
- Resistant to ambient light Incandescent lamp 3000 Lux Sunlight 10000 Lux
- Protection grade IP67 (moisture-proof and dust-proof)
- Bright Pass/Dark Pass สลับ Conversion Dual Output, ป้องกันการลัดวงจร Reverse polarity protection
- Cable PVC length 2 Meters
สายต่อใช้งาน Wiring Diagram
- สายสีน้ำตาล Brown ไฟเลี้ยง
- สายสีดำ Black กราวด์ GND
- สายสีขาว White OUTPUT NPN NO
- –
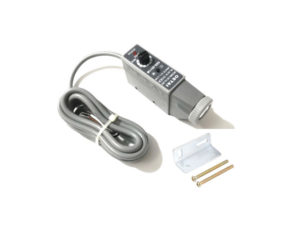
ในชุดประกอบด้วย
- 1pcs x เซนเซอร์ตรวจจับสี Color Sensors
- 1pcs x ฉากติดตั้ง Sensor Bracket
- 1set x สกรู Screw
Dimensions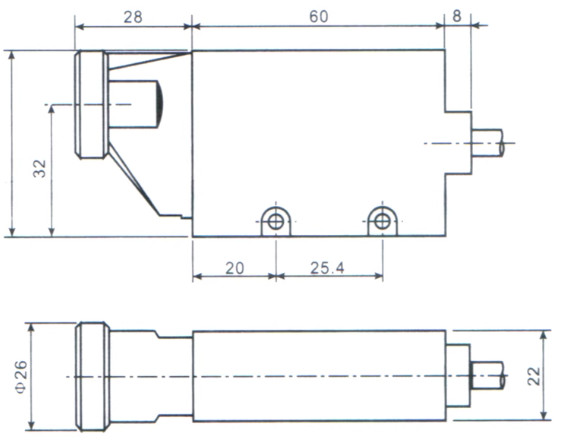
Model selection
Single light source selection
“R” red light source
“G” green light source
“B” blue light source
“W” white light source
Pair light source selection
“WB” white and blue light source.
Steps Setting
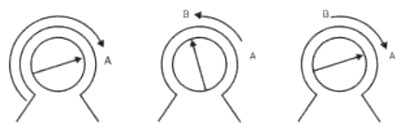
Fix the photoelectric switch so that the offset meets the requirements. Determine the light source according to the packaging paper and color code you use (should be determined when ordering). Then determine the output mode of bright or dark motion according to the needs of your machine. Finally, press the following three Adjust the sensitivity step by step (the following output lighting mode, the wrapping paper mark is light color and the background is dark as an example)
(1) Move the wrapping paper so that the light projection point falls on the background area outside the mark. Turn the sensitivity in the opposite direction to the bottom, and then slowly turn it clockwise until (12 is just bright. Remember that the position of the potentiometer at this time is as shown in (1) ) entry point.
(2) Then move the wrapping paper so that the light projection point falls in the center of the mark, and then slowly turn the adjustment knob counterclockwise until OUTI is just right. Remember the knob position at this time as shown in the figure.
Point B of (2)
(3) After completing the above two steps correctly, then twist the potentiometer to the position between the two points A and B, as shown in Figure (3). At this time, OUT2 should be on. After the adjustment is completed, the distance between the two points A and B will be closer. Larger means that the color difference is larger and the detection is more stable.


รีวิว
ยังไม่มีบทวิจารณ์