
คำอธิบาย
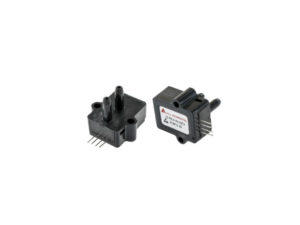
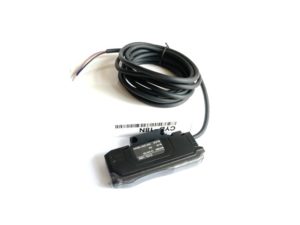
ไฟเบอร์ออฟติกเซนเซอร์ CY18N สามารถใช้ทดแทน FS-N18N, FS-N11N, FS-V11 Fiber Optic Sensor Amplifier ใช้สำหรับการตรวจจับวัตถุสี ตรวจสอบสีของผลิตภัณฑ์ในงานอุตสาหกรรม สามารถใช้กับบรรจุภัณฑ์ หลายประเภท เช่น ฟิล์มใส, ฟิล์มอลูมิเนียม, ถุงกระดาษ
ข้อมูลด้านเทคนิค
- Brand CYD China
- Model 18N
- Voltage Input DC12V-24V
- Output NPN
- Display 7-Segment
- Response time 50uS (HIGH SPEED) /250uS (FINE) /500uS (TURBO) /1mS (SUPER) /4mS (ULTRA) /16mS (MEGA)
- Multiple Expansion connections to 16 units
- Optical sensor Light source Red, 4-Element LED
- Daylight 30,000 lux or less
- Mounted on DIN Rail
- Cable lenght 2M
ในชุดประกอบด้วย
- 1pcs x ไฟเบอร์ออฟติก เซนเซอร์ Fiber Optic Amplifier Sensor
- *ราคาไม่รวม สายโพรบ
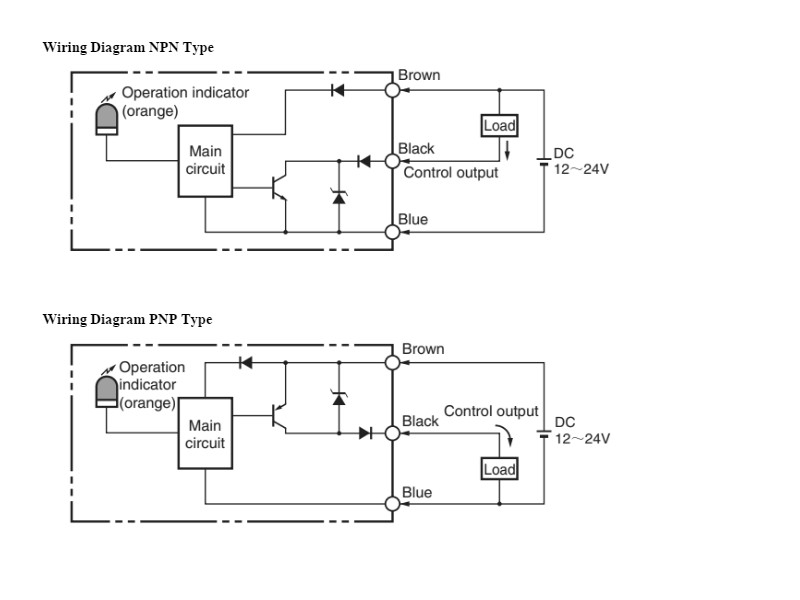
แผนผังการต่อสาย Wiring Diagram
Initial Settings
- Dip Switch = SEL, Scale 4,090 Value
- Dip Switch = M, Scale 9,999 Value
Settings Output Mode
- Press Mode 0.5 Sec to Enter Settings Output Mode
- When entering the settings screen you see a window. |don
- Move the arrow keys left and right.
- |don = Dark.ON Mode // Output ON when the sensor detect
- Lon = Light.ON Mode // Output ON When the sensor does not detect / working opposite to |don
STD Detect Settings Mode (more or less)
Screen Display example | 200 180

(200 means the set value) and (180 actual readable value)  If the actual reading is greater than 200, the output is on.
- Press Mode 3 Sec to Enter settings
- When entering the settings screen, Press the Mode repeatedly until you see a window. |dEtC
- Press the Set button.
- Bring the Fiber Optic cable to shine at the workpiece to get the desired value.
- Press the Set button.
- Finish setting
aRER Detect Range Settings Mode (values in the specified range)
| Set 180

(Set means Detect Range Settings Mode) and (180 actual readable value)  the sensor is activated when it detects a value in the range of 100-200.
- Press Mode 3 Sec to Enter settings
- When entering the settings screen, Press the Mode repeatedly until you see a window. |dEtC
- Move the arrow keys left and right.
- dEtC = aRER (Detection mode Detect range)
- Press the Mode button again until the display shows END.
- The sensor will have to set the Hi Value first.
Hi value set
- Press the Mode >> the screen will show “Hi”
- Bring the Fiber Optic cable to shine at the workpiece to get the MAX value. / Or use the left and right arrows to select the desired value.
- Press the Set button. // When the desired value is reached For example, choose Hi = 200
- Output switch L-on
- Set >> Mode >> Lo ( Set Value) >> Set
- Output switch L-on
Lo value set
- Press the Mode >> the screen will show “Lo”
- Bring the Fiber Optic cable to shine at the workpiece to get the Min value. / Or use the left and right arrows to select the desired value.
- Press the Set button. // When the desired value is reached For example, choose Lo = 100
- Press the Mode >> the screen will show “L-on”
- Press the Set button
- Finish setting
In the above settings, the sensor is activated when it detects a value in the range of 100-200.
FEC Settings Mode
- Press Mode 3 Sec to Enter settings
- When entering the settings screen, Press the Mode repeatedly until you see a window. |FEC
- Move the arrow keys left and right.
- FEC = F1 ความเข้มแสง ระดับ 4
- FEC = F2 ความเข้มแสง ระดับ 3
- FEC = F3 ความเข้มแสง ระดับ 2
- FEC = F4 ความเข้มแสง ระดับ 1
Timer Settings Mode
- Press Mode 3 Sec to Enter settings
- When entering the settings screen, Press the Mode repeatedly until you see a window. |tOFF
- Move the arrow keys left and right.
- tOFF
- Shot
- On D
- Off D
การประยุกต์ใช้งาน
- ตรวจสอบสีในอุตสาหกรรมการผลิต
- ตรวจจับตำแหน่งมาร์คสี
- ตรวจสอบความเข้มสี
- ตรวจสอบความแตกต่างสี
รีวิว
ยังไม่มีบทวิจารณ์