คำอธิบาย
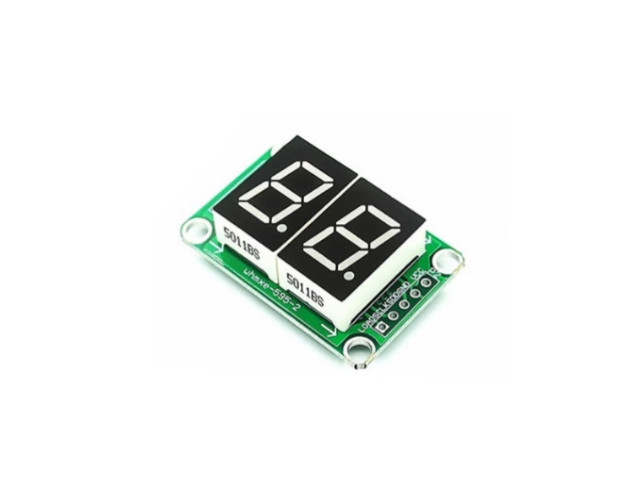
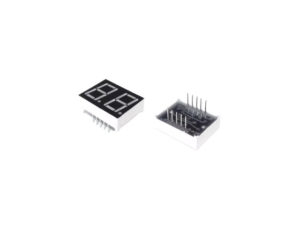
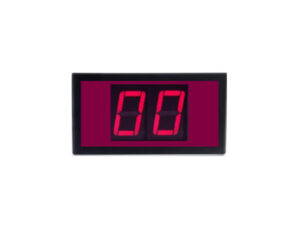
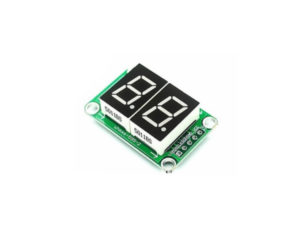
โมดูลแสดงผลแบบดิจิตอล ไดรฟ์อินเทอร์เฟซ 3 สาย 74HC595 Digital display module. 3 wire interface 74HC595 drives
Interface
- VCC +
- GND –
- SDD Data
- SCLK Clock
- LOAD Latch
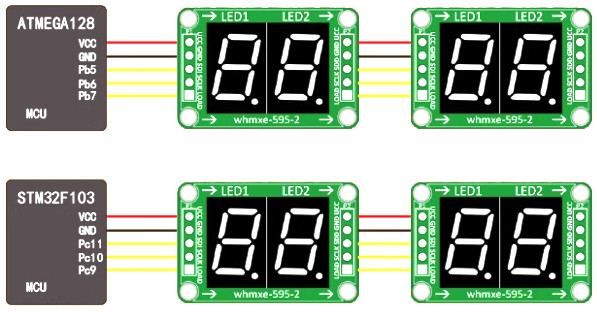
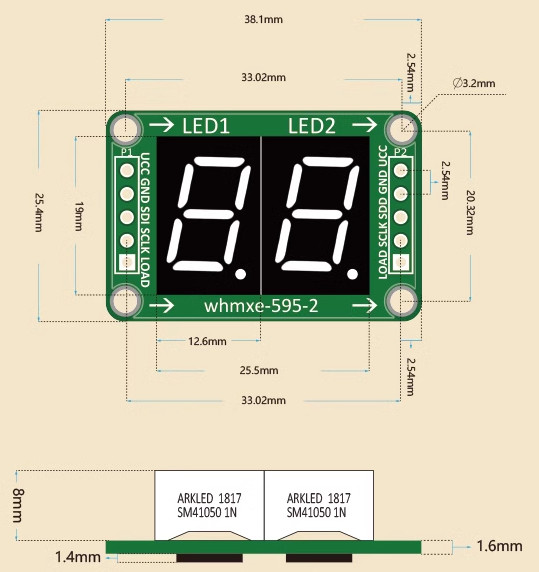
Dimension
- 38. 2mm x 25.6mm
7-Segment Module 74HC595 SPI 0.5-2 Digit Arduino Code
การสื่อสาร SPI การใช้ไลบรารี Arduino SPI ในตัวหรือไลบรารี SPI.h
Pin connections
- SER Data Pin
- SRCLK Clock Pin
- RCLK Latch Pin
|
1 2 3 4 5 6 7 8 9 10 11 12 13 14 15 16 17 18 19 20 21 22 23 24 25 26 27 28 29 30 31 32 33 34 35 36 37 38 39 40 41 42 43 44 45 46 47 48 49 50 51 52 |
#include <SPI.h> #define latchPin 10 // Pin connected to RCLK or ST_CP of 74HC595 #define clockPin 13 // Pin connected to SRCLK or SH_CP of 74HC595 #define dataPin 11 // Pin connected to SER or DS of 74HC595 byte digitData[] = { 0b00111111, // 0 0b00000110, // 1 0b01011011, // 2 0b01001111, // 3 0b01100110, // 4 0b01101101, // 5 0b01111101, // 6 0b00000111, // 7 0b01111111, // 8 0b01101111 // 9 }; void setup() { SPI.begin(); pinMode(latchPin, OUTPUT); pinMode(clockPin, OUTPUT); pinMode(dataPin, OUTPUT); } void loop() { int number = 42; // Change this to the number you want to display int ones = number % 10; int tens = (number / 10) % 10; displayDigit(tens, 1); // Display tens digit on first 7-segment delay(5); // Adjust delay as needed for display persistence displayDigit(ones, 2); // Display ones digit on second 7-segment delay(5); // Adjust delay as needed for display persistence } void displayDigit(int digit, int position) { digitalWrite(latchPin, LOW); SPI.transfer(digitData[digit]); digitalWrite(latchPin, HIGH); // Set position to display the digit digitalWrite(latchPin, LOW); if (position == 1) { SPI.transfer(0b00000001); // Display on the first 7-segment } else if (position == 2) { SPI.transfer(0b00000010); // Display on the second 7-segment } digitalWrite(latchPin, HIGH); } |

รีวิว
ยังไม่มีบทวิจารณ์