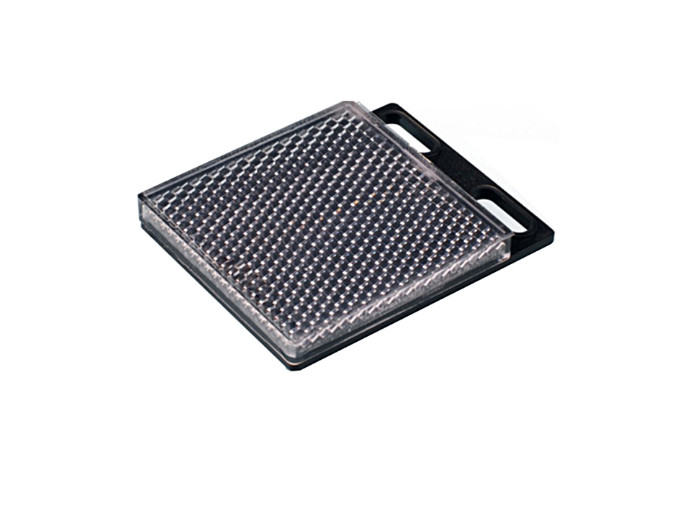
แผ่นสะท้อนแสง/แผ่นสะท้อนแสง สำหรับเซ็นเซอร์สวิตช์ photoelectric switch sensor ใช้เซ็นเซอร์สะท้อนแสงแบบโพลาไรซ์ รีเฟลกเตอร์ทรงลูกบาศก์มุม

แผ่นสะท้อนแสง/แผ่นสะท้อนแสง สำหรับเซ็นเซอร์สวิตช์ photoelectric switch sensor ใช้เซ็นเซอร์สะท้อนแสงแบบโพลาไรซ์ รีเฟลกเตอร์ทรงลูกบาศก์มุม
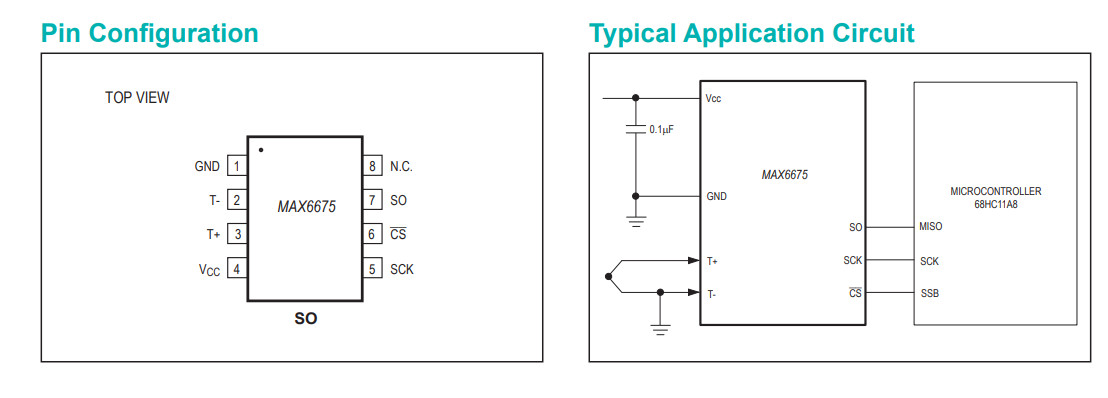
วัดอุณหภูมิด้วยเทอร์โมคัปเปิล Thermocouple Type K MAX6675

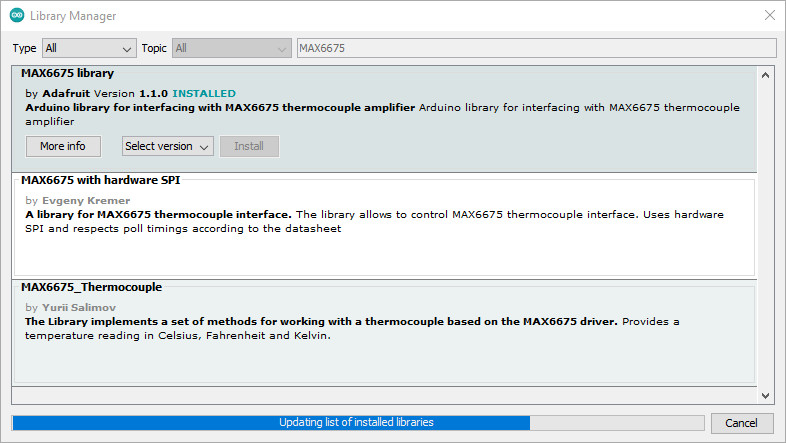
การติดตั้ง Library

การเปิดตัวอย่างโค้ด

|
1 2 3 4 5 6 7 8 9 10 11 12 13 14 15 16 17 18 19 20 21 22 23 24 25 26 27 28 29 30 31 32 33 34 35 36 37 38 39 40 41 42 43 44 45 |
/* Average Thermocouple Reads a temperature from a thermocouple based on the MAX6675 driver and displays it in the default Serial. https://github.com/YuriiSalimov/MAX6675_Thermocouple Created by Yurii Salimov, May, 2019. Released into the public domain. */ #include <Thermocouple.h> #include <MAX6675_Thermocouple.h> #define SCK_PIN 3 #define CS_PIN 4 #define SO_PIN 5 Thermocouple* thermocouple; // the setup function runs once when you press reset or power the board void setup() { Serial.begin(9600); thermocouple = new MAX6675_Thermocouple(SCK_PIN, CS_PIN, SO_PIN); } // the loop function runs over and over again forever void loop() { // Reads temperature const double celsius = thermocouple->readCelsius(); const double kelvin = thermocouple->readKelvin(); const double fahrenheit = thermocouple->readFahrenheit(); // Output of information Serial.print("Temperature: "); Serial.print(celsius); Serial.print(" C, "); Serial.print(kelvin); Serial.print(" K, "); Serial.print(fahrenheit); Serial.println(" F"); delay(500); // optionally, only to delay the output of information in the example. } |


Mirobot ROS Thailand
การนำ PLC ไปควบคุมการกลับทางหมุนมอเตอร์ 3 เฟส
F5 -| |- Open Contact
F6 -|/|- Close Contact
sF6 -|^|- Rising Pulse
sF5 Open Branch
F7 -( )- Coil
F8 -[ ]- Application Instruction
sF9 Vertical Line
PLC เบื้องต้น Programmable logic controller การเขียนโปรแกรม (Programming) หรือ การเขียนโค้ด (Coding) PLC เบื้องต้น นั้นใช้ ภาษา Ladderภาษาที่ใช้ในการเขียนโปรแกรม PLC คำสั่งบูลีน
Interlocks
|
1 2 3 4 5 |
START STOP OUT ----| |----+----| |----------------------( ) | OUT | ----| |----+ |
เริ่มต้นด้วยการหา address ของจอ LCD โดยส่วนมากแล้วจอ LCD แบบ I2C จะใช้ IC PCF8574T เป็น อินเตอร์เฟส I2C-bus 100 kHz (โหมด I2C บัส มาตรฐาน)
ซึ่งมักจะเป็น Address 0x27 แต่หากเราไม่ทราบ address จริงๆ สามารถใช้ i2c_scanner สแกนขา Address ได้ดัง Code ด้านล่าง
https://playground.arduino.cc/Main/I2cScanner
|
1 2 3 4 5 6 7 8 9 10 11 12 13 14 15 16 17 18 19 20 21 22 23 24 25 26 27 28 29 30 31 32 33 34 35 36 37 38 39 40 41 42 43 44 45 46 47 48 49 50 51 52 53 54 55 56 57 58 59 60 61 62 63 64 65 66 67 68 69 70 71 72 73 74 75 76 77 78 79 80 81 82 83 |
// -------------------------------------- // i2c_scanner // // Version 1 // This program (or code that looks like it) // can be found in many places. // For example on the Arduino.cc forum. // The original author is not know. // Version 2, Juni 2012, Using Arduino 1.0.1 // Adapted to be as simple as possible by Arduino.cc user Krodal // Version 3, Feb 26 2013 // V3 by louarnold // Version 4, March 3, 2013, Using Arduino 1.0.3 // by Arduino.cc user Krodal. // Changes by louarnold removed. // Scanning addresses changed from 0...127 to 1...119, // according to the i2c scanner by Nick Gammon // http://www.gammon.com.au/forum/?id=10896 // Version 5, March 28, 2013 // As version 4, but address scans now to 127. // A sensor seems to use address 120. // Version 6, November 27, 2015. // Added waiting for the Leonardo serial communication. // // // This sketch tests the standard 7-bit addresses // Devices with higher bit address might not be seen properly. // #include <Wire.h> void setup() { Wire.begin(); Serial.begin(9600); while (!Serial); // Leonardo: wait for serial monitor Serial.println("\nI2C Scanner"); } void loop() { byte error, address; int nDevices; Serial.println("Scanning..."); nDevices = 0; for(address = 1; address < 127; address++ ) { // The i2c_scanner uses the return value of // the Write.endTransmisstion to see if // a device did acknowledge to the address. Wire.beginTransmission(address); error = Wire.endTransmission(); if (error == 0) { Serial.print("I2C device found at address 0x"); if (address<16) Serial.print("0"); Serial.print(address,HEX); Serial.println(" !"); nDevices++; } else if (error==4) { Serial.print("Unknown error at address 0x"); if (address<16) Serial.print("0"); Serial.println(address,HEX); } } if (nDevices == 0) Serial.println("No I2C devices found\n"); else Serial.println("done\n"); delay(5000); // wait 5 seconds for next scan } |
การต่อใช้งานให้เราต่อ SDA และ SCL ของ LCD ไปที่ขา A4 และ A5 ของ Arduino UNO โดยขา SDA ต่อ A4 และ SCL ต่อ A5
จากนั้น ทำการติดตั้ง Library LiquidCrystal_I2C_master และ อัพโหลด Code ตามด้านล่าง
https://github.com/fdebrabander/Arduino-LiquidCrystal-I2C-library
|
1 2 3 4 5 6 7 8 9 10 11 12 13 14 15 16 17 18 19 |
#include <Wire.h> #include <LiquidCrystal_I2C.h> LiquidCrystal_I2C lcd(0x27, 16, 2); // ตั้งค่าที่อยู่ LCD เป็น 0x27 สำหรับการแสดง 16 ตัวอักษรและ 2 บรรทัด void setup(){ // initialize the LCD lcd.begin(); // Turn on the blacklight and print a message. lcd.backlight(); lcd.print("https://s2ins.com!"); //พิมพ์ข้อความ } void loop() { // Do nothing here... } |
สำหรับผู้ที่ใช้ Arduino Nano ในบางครั้งจะพบปัญหาในเรื่องของการ Upload โปรแกรมไม่ผ่านนะครับ บางทีอาจจะเป็นปัญหาแบบเส้นผมบังภูเขาก็ได้นะครับเพราะ Arduino Nano นั้นมี Processor อยู่ 2 แบบนั่นคือ At Mega 328 และ At Mega 168 ให้เราสังเกตตัวไอซีที่อยู่บนไอซีบนบอร์ด Processor อะไร และเลือก Processor ให้ตรงแค่นี้ก็สามารถ Upload โปรแกรมผ่านแล้วครับ
ระบบโลจิสติกส์ แบบอัตโนมัติ
Logistics automation